Webmin est une interface web, sous licence BSD, qui permet d’administrer simplement un serveur UNIX ou Linux à distance via n’importe quel navigateur web.
 Pour information: Un script est disponible pour les membres.
Installation:
On ajoute la source:
sudo nano /etc/apt/sources.listEt on ajoute:
deb http://download.webmin.com/download/repository sarge contribOn récupère la clé on effectue les mise à jour puis l’installation:
cd /tmp
wget http://www.webmin.com/jcameron-key.asc
sudo apt-key add jcameron-key.asc
sudo apt update
sudo apt upgrade
sudo apt install webmin
Par sécurité on change le port de connexion:
sudo sed -i "s/port=10000/port=$PORTWEBMIN/" /etc/webmin/miniserv.confEt on redémarre:
sudo /etc/init.d/webmin restartFirewall:
Si vous avez suivi le tuto concernant la mise ne place d’un pare-feu:
sudo sed -i "/^echo - Initialisation des regles.*/i #Webmin" /etc/init.d/firewall
sudo sed -i "/^echo - Initialisation des regles.*/i iptables -t filter -A INPUT -p tcp --dport $PORTWEBMIN -j ACCEPT" /etc/init.d/firewall
sudo sed -i "/^echo - Initialisation des regles.*/i iptables -t filter -A OUTPUT -p tcp --dport $PORTWEBMIN -j ACCEPT" /etc/init.d/firewall
sudo /etc/init.d/firewall stop
sudo /etc/init.d/firewall startFail2Ban:
Si vous avez suivi le tuto concernant Fail2Ban:
sudo sed -i '/^\[webmin-auth\].*/a enabled = true' /etc/fail2ban/jail.local
sudo sed -i "s/= 10000/= $PORTWEBMIN/" /etc/fail2ban/jail.local
sudo service fail2ban restart
Configuration:
Rendez-vous sur “https://$VotreNomDeDomaine:$PORTWEBMIN” ou “https://$VotreIP:$PORTWEBMIN”
- Certificats SSL
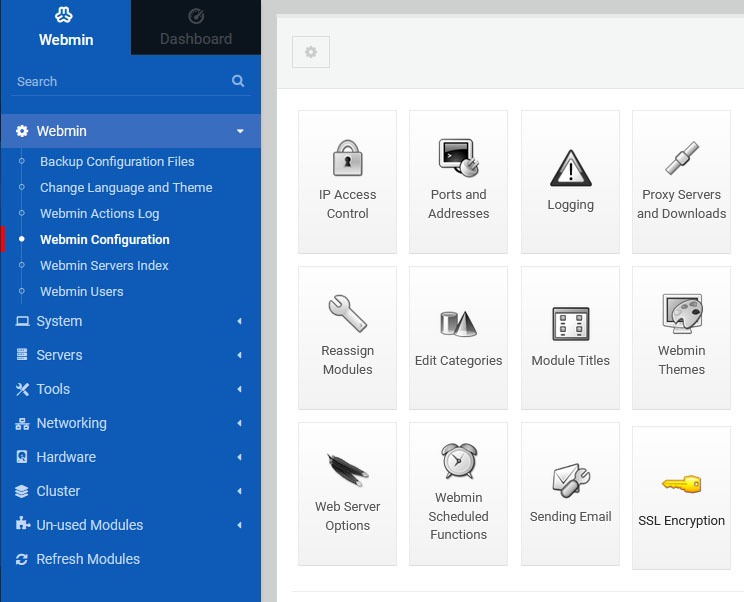
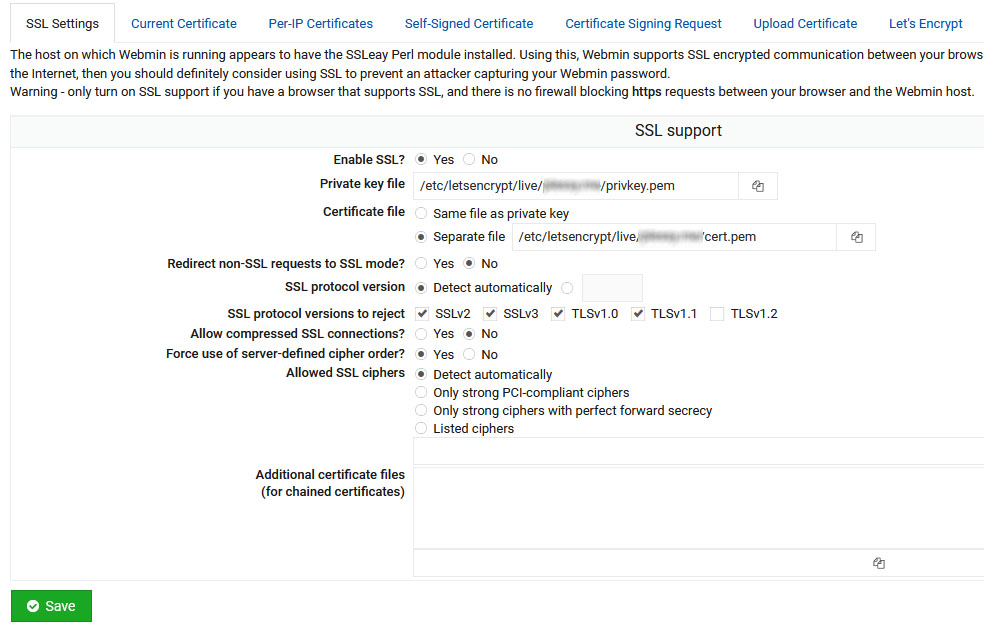
Si vous avez suivi le tuto concernant les certificats SSL cliquez sur “Webmin configuration” puis “SSL Encryption” et ajoutez vos certificats.


- Restreindre les IPs
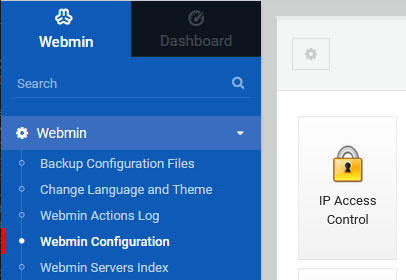
Cliquez sur “Webmin configuration” puis “IP Access control” et entrez vos adresses IP de confiance


